 inktype.cc
How-To Guide
inktype.cc
How-To Guide
How to turn your handwriting into a working font
A step-by-step guide to generating, capturing, and customizing your handwritten typeface. Completely local, private, and free.
Print your template sheet
The first step is downloading the capture sheet from the inktype homepage. We offer templates for different languages to ensure characters specific to your language (like Polish diacritics, German umlauts, French accents, or Spanish glyphs) are included. If you want custom punctuation or extra characters, select the Empty / Extras template.
Paper: Print the sheet on standard A4 white paper. Set your printer settings to scale at 100% (do not fit-to-page) to keep coordinates accurate.
Digital Alternative: Don't have a printer? Download the template as a PNG and open it in any drawing or PDF annotation app (like GoodNotes, Procreate, or Photoshop) on an iPad or tablet. Write using an Apple Pencil or stylus.
Write your characters
Grab a dark pen and fill in the grid. Write a single character inside each dashed grid box. Write normally, but try to follow these guidelines for the best results:
- Use an opaque black pen: Felt-tip pens, gel pens, fine markers, or ink pens work best. Avoid pencils or light blue pens, which are harder to detect.
- Stay inside the dashed boxes: Keep characters clearly separated. If your character crosses a dashed border, it might get cut off or merged with a neighbor.
- Pay attention to counters: Write letters with loops (like 'a', 'e', 'o', 'g') clearly so the center holes remain open.

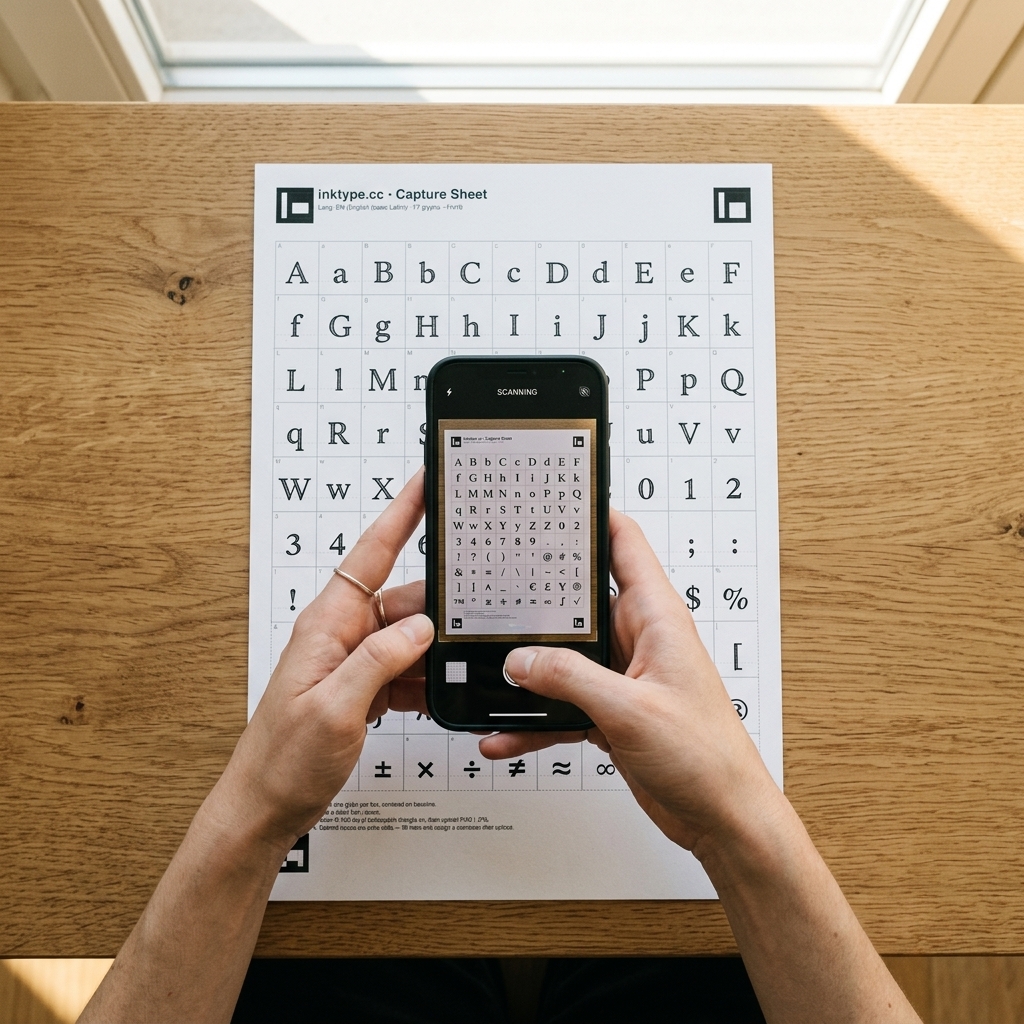
Capture or scan the sheet
Once filled, you need to capture a clean image of the template to feed it back into the application. You can use a flatbed scanner or a smartphone camera.
Smartphone Guidelines (Most Common):
- Place the sheet flat on a well-lit surface. Avoid shadows from your hands or device.
- Hold your phone parallel to the paper, keeping it as straight as possible.
- Crucial: Ensure all four black corner markers (square ArUco fiducials) are fully visible in the camera frame. The app uses these to automatically correct perspective.
Scanner Guidelines: Scan the sheet as a JPG or PNG at 300 DPI for the highest level of vector outline detail.
Upload and process
Go to inktype.cc, click Upload scan, and select your file (PNG, JPG, or PDF; up to 25 MB).
The app will process the image locally in your browser:
- It locates the four corner ArUco markers to de-warp perspective and line up the sheet grid.
- It reads the QR code at the top to automatically identify the language template.
- It crops each cell, runs an outline vectorizer, and outputs mathematical bezier paths.
Note: Because processing runs entirely in WebAssembly/Canvas APIs locally in your browser, your files are never uploaded to a server, protecting your privacy.
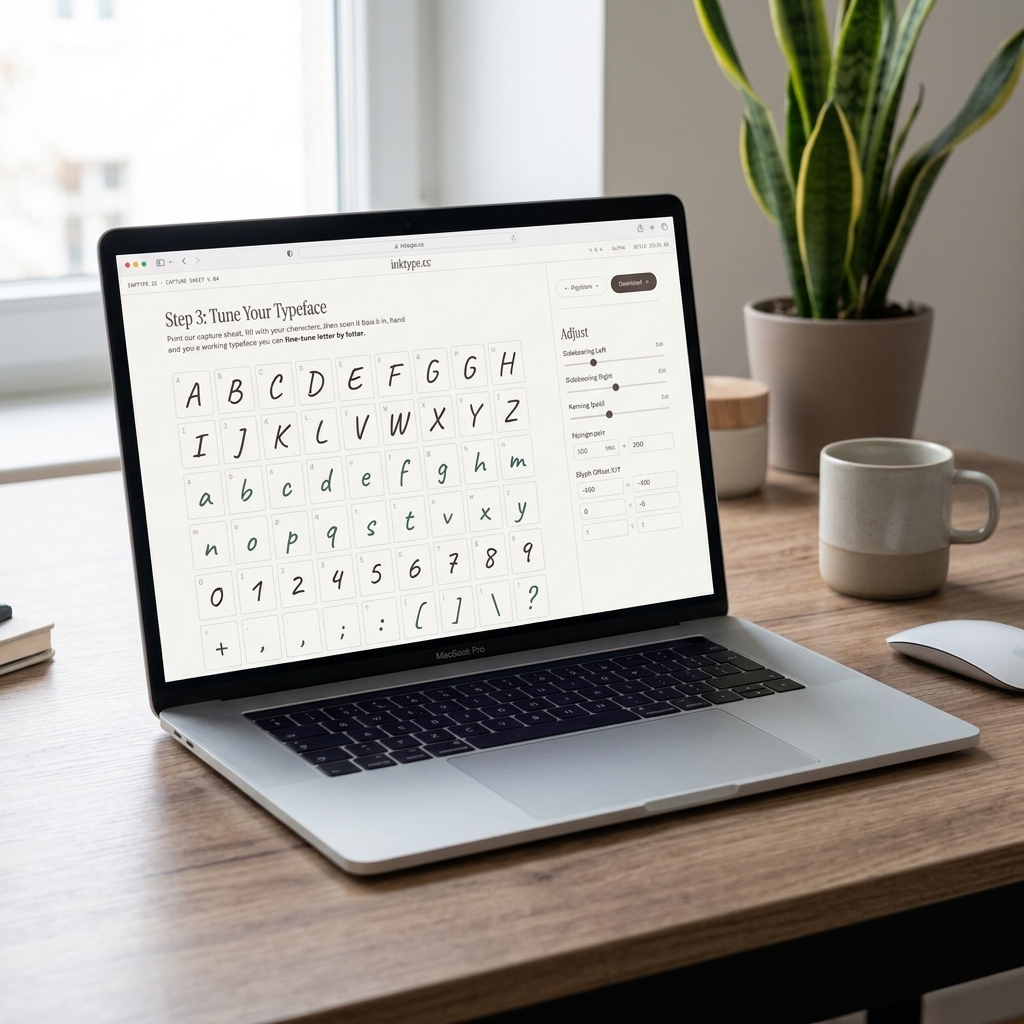
Fine-tune and export your .otf
After processing, you will enter the Glyph Editor. The grid displays all captured characters. Select individual glyphs to adjust them:
- Position (Shift X/Y): Centering the glyphs on the baseline.
- Scale: Resizing letters so uppercase and lowercase proportions match.
- Spacing (Advance Width): Adjusting how much space is left after the letter when typing.
You can also use the Global tab to scale or shift all characters at once, or use the Auto-crop spacing tool to fit character boundaries tightly.
Type inside the Live preview box at the bottom to test your handwriting in real-time. When you are happy with the layout, click Export .otf, name your font, add your name, and download the font file. You can install it on macOS, Windows, Linux, iOS, or Android!
Frequently Asked Questions
Is inktype.cc completely free?
Yes. inktype.cc is a free, open-source project by kiwiprojekt. There are no paywalls, subscriptions, or limits on font exports.
Where can I use my exported font?
The exported file is a standard OpenType Font (.otf). Once installed, you can use it in Microsoft Word, Google Docs, Adobe Creative Cloud, Figma, Canva, or any other system software that supports custom typefaces.
Can I capture accents or special symbols?
Yes! By printing a template for French (FR), German (DE), Polish (PL), or Spanish (ES), the corresponding accents are part of the capture sheet. You can also print an "Empty" extras template, write any symbol inside the boxes, and assign the symbol manually in the editor.
Can I edit my font later?
Your progress is automatically saved in your browser's local storage. If you close the page and return later with the same scan file, your edits will be restored automatically.